


Executive Overview
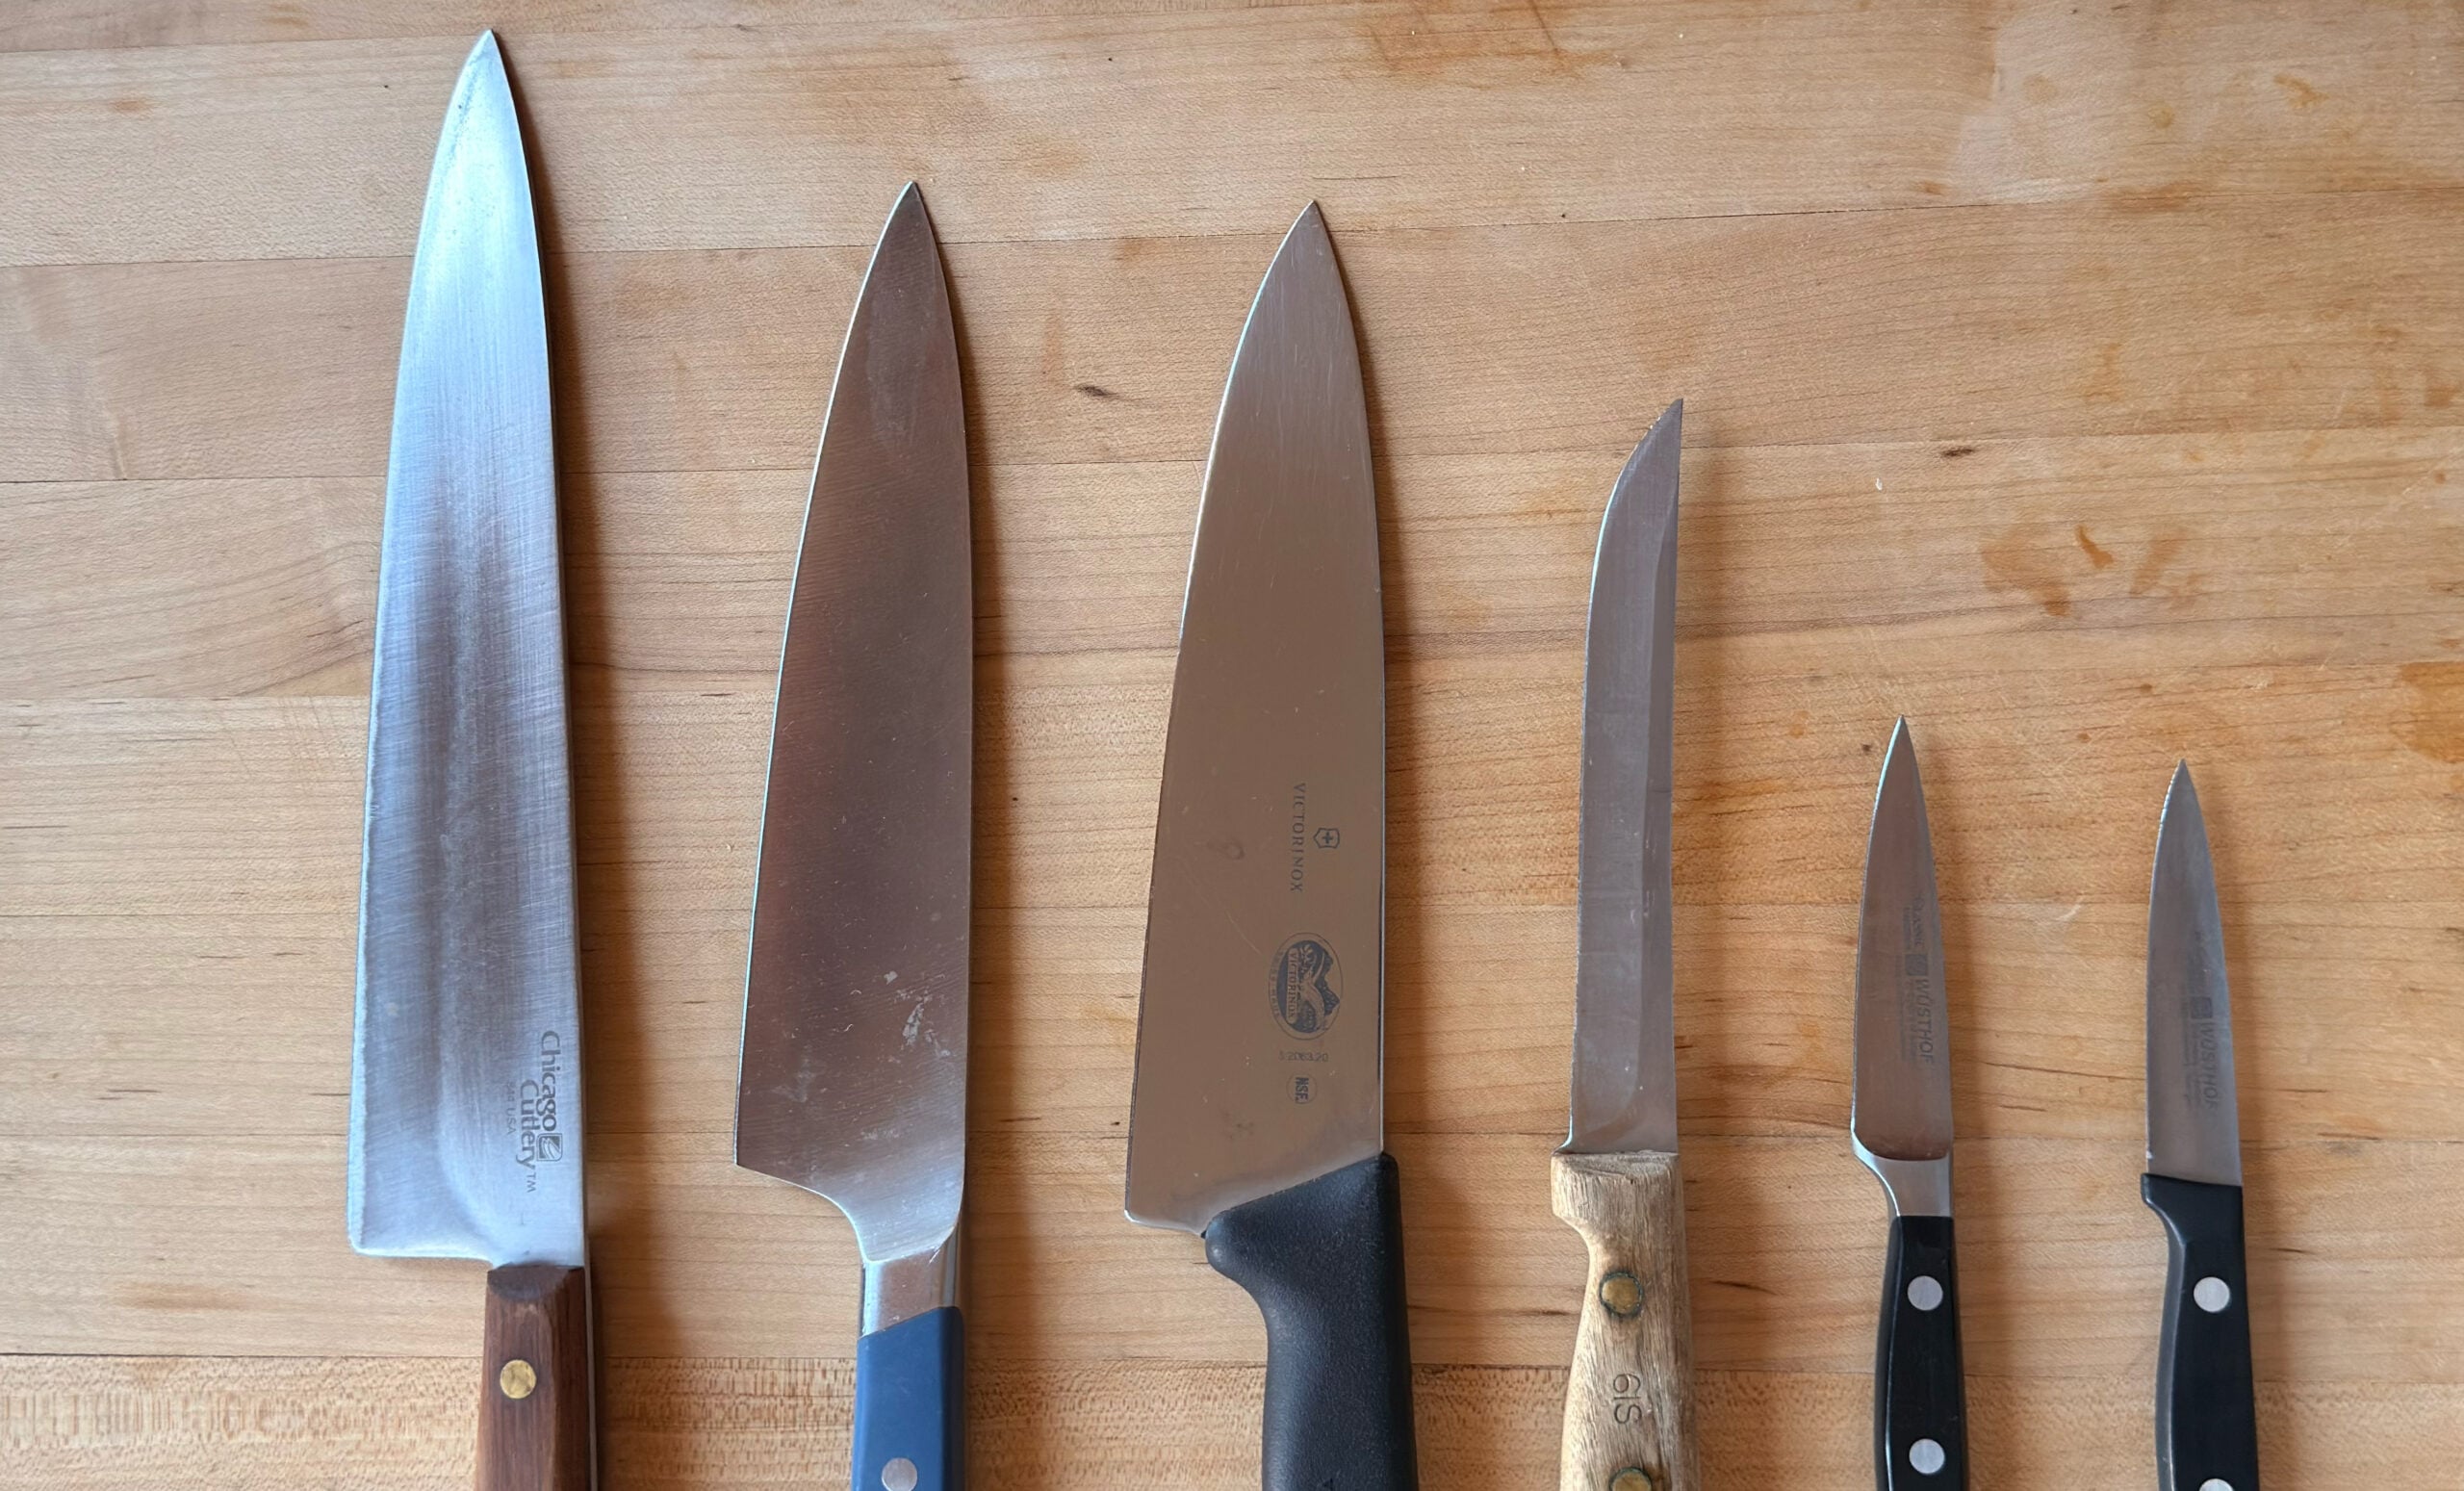
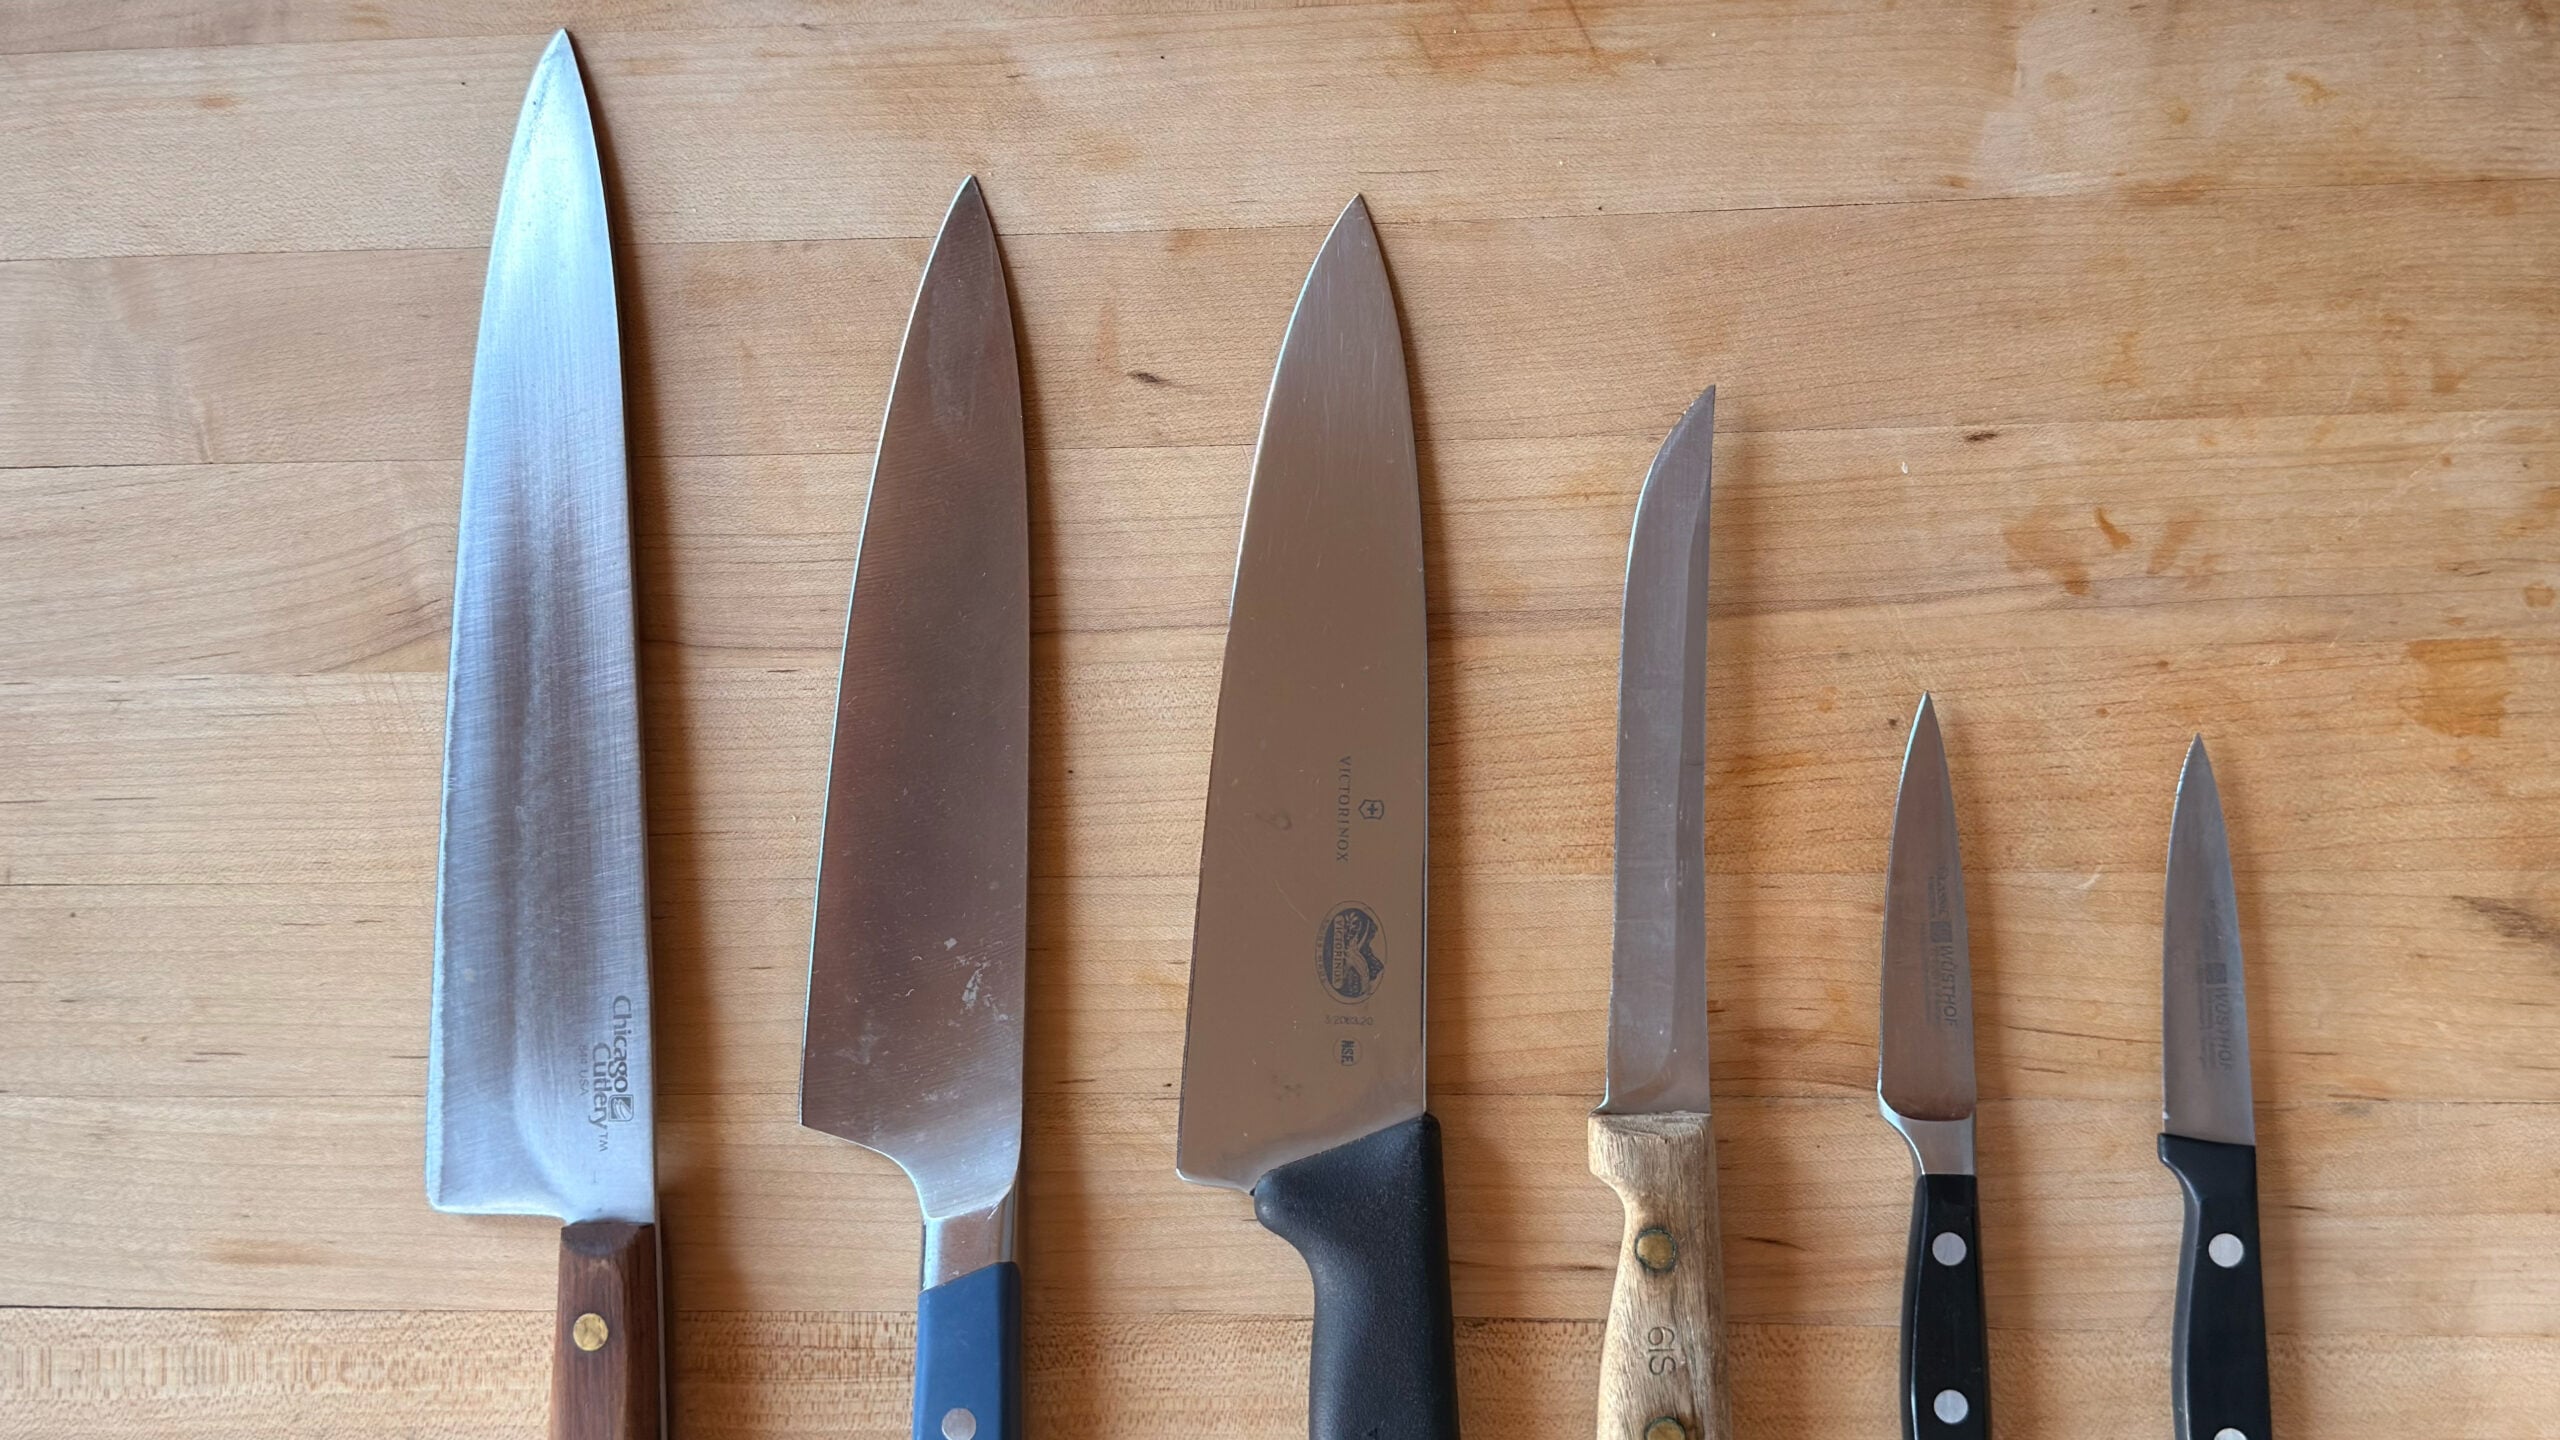
As the holiday season approaches, home kitchens across the country prepare for a familiar orchestration of culinary activity. Cutting boards will soon vanish beneath towering drifts of onions, garlic, fresh herbs, aromatic carrots, celery, and mountains of potatoes. Yet, amid the flurry of menu planning and grocery runs, home cooks routinely overlook the single most critical instrument in their culinary arsenal: the chef’s knife.
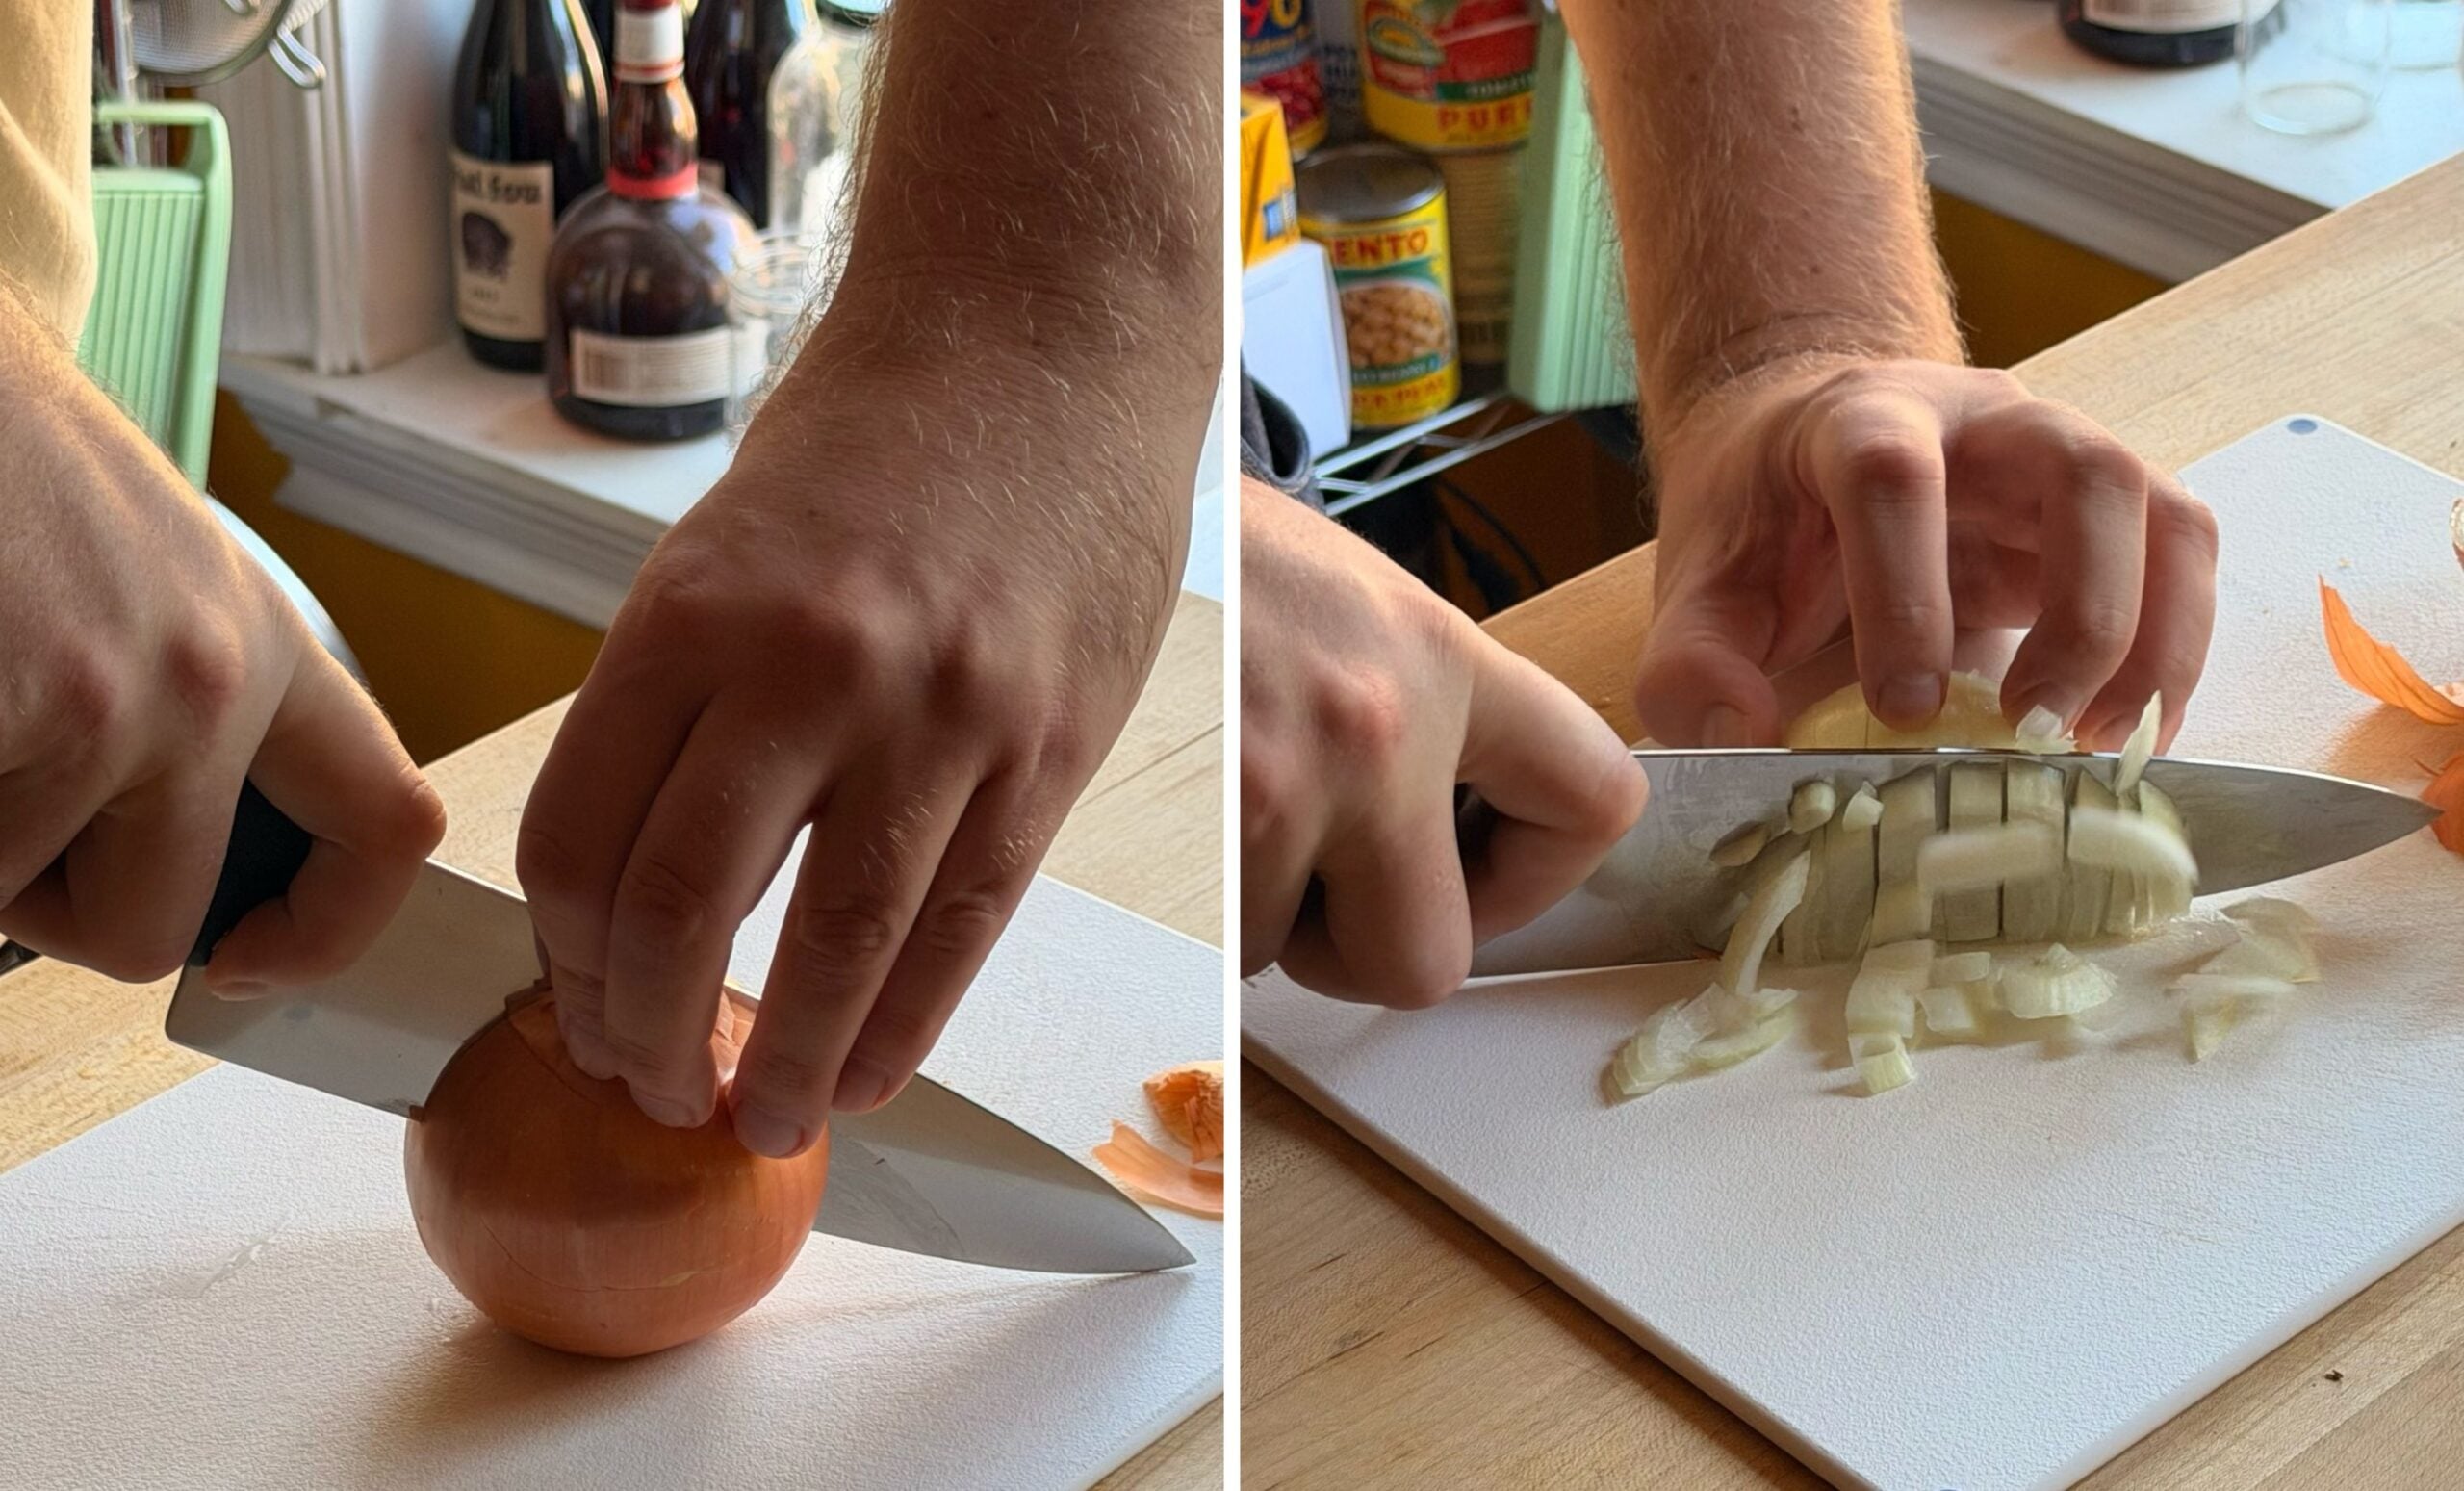
A dull knife is not merely a frustrating impediment to efficient food preparation; it is an active safety hazard. Contrary to popular intuition, a sharp blade is inherently safer than a dull one. When an edge degrades, it requires significantly more physical force—commonly referred to as "elbow grease"—to drive through produce. This excess pressure inevitably leads to unpredictable slips, sending the blade skittering across the slick skins of root vegetables and putting fingers directly in harm’s way.
While professional sharpening services offer a viable, albeit costly and inconvenient, solution for maintaining blade performance, mastering at-home knife maintenance represents a sustainable, empowering, and financially prudent alternative. By adopting a straightforward routine that incorporates regular honing and occasional sharpening, home cooks can transform their cooking experience, slash prep times, and eliminate the petty frustrations that turn holiday cooking into an endurance test. This comprehensive guide details the mechanics of blade care, breaks down the essential tools—from budget-friendly handheld sharpeners to traditional whetstones—and establishes a definitive framework for keeping your kitchen knives in pristine, professional-grade condition.
Detailed Chronology: Understanding the Lifecycle of a Knife Edge
To maintain a knife properly, one must first understand what occurs at a microscopic level every time a blade meets a cutting board. The evolution of a knife’s edge follows a predictable trajectory from factory perfection to gradual degradation, requiring distinct interventions at various stages of its lifespan.
Phase 1: The Factory Edge and Initial Use
When a new chef’s knife arrives, its edge is ground to an acute, razor-thin angle—typically between 15 and 20 degrees depending on whether the blade is of Western or Japanese origin. As the knife slices through ingredients, the extreme pressure and friction exerted upon the apex cause the microscopic steel teeth of the edge to bend, roll, or dull.
Phase 2: The Micro-Alignment Breakdown (The Honing Window)
Within days or weeks of regular cooking, the edge does not necessarily lose its steel; rather, it misaligns. The ultra-thin apex bends microscopically to the left or right. During this phase, the knife begins to resist smooth cuts, sliding off the rounded surfaces of Brussels sprouts or potatoes instead of slicing cleanly through them.
- The Intervention: This is the ideal window for honing. Using a honing steel (or rod) does not remove metal; instead, it acts like brushing unruly hair, physically realigning the bent microscopic teeth back into a straight, unified cutting plane. Honing should occur frequently—ideally before major cooking sessions or at least once a week.
Phase 3: Steel Fatigue and Edge Dullness (The Sharpening Window)
Over months of heavy use, the steel at the very apex of the blade wears down, flattens, or chips microscopically. Honing can no longer restore performance because the actual cutting edge has been blunted away. At this juncture, herbs begin to bruise and crush rather than shear cleanly, and slicing onions triggers an abundance of tears. (As a biochemical footnote: onions release a volatile gas called syn-propanethial-S-oxide when their cellular walls are ruptured. A dull knife crushes multiple adjacent cell walls, triggering a massive release of gas, whereas a razor-sharp blade slices through cells cleanly, dramatically reducing tears).
- The Intervention: This requires sharpening. Unlike honing, sharpening actively shaves away microscopic slivers of metal to expose a fresh, virgin layer of steel, effectively rebuilding the blade’s acute bevel from scratch. Depending on frequency of use, true sharpening is typically necessary only once every few months or a couple of times per year.
Supporting Context & Metrics: Tool Selection and Blade Anatomy
Selecting the appropriate maintenance strategy requires an understanding of blade metallurgy, edge geometry, and the equipment designed to service them. Not all knives are created equal, and applying a universal sharpening method to a diverse knife block can cause catastrophic damage.
Categorical Blade Treatment
- Western-Style Chef’s Knives, Paring Knives, Utility Knives, and Carving Knives: Built with thicker, sturdier steel and wider edge angles (usually 20 degrees), these workhorses are remarkably forgiving. They are prime candidates for standard handheld sharpeners and traditional whetstones alike.
- Japanese-Style Knives (Santoku, Gyuto, Nakiri): Crafted from harder, thinner, and far more delicate high-carbon steels, these blades demand a more refined touch. Handheld V-slot sharpeners can chip or shatter these delicate edges. A whetstone is the undisputed gold standard for Japanese cutlery. Furthermore, traditional single-bevel Japanese blades require specialized single-side sharpening techniques.
- Serrated Knives (Bread Knives and Serrated Utility Knives): The undulating teeth of a serrated blade cannot be serviced by flat stones or standard V-slots. They require specialized diamond-coated tapered files or professional intervention. Fortunately, because the recessed valleys of serrations rarely contact the cutting board, these knives retain their utility for years between services.
- Ceramic Knives: Exceptionally hard yet brittle, ceramic blades cannot be sharpened with conventional steel-servicing tools. They require industrial diamond-dust sharpening equipment and, given their fragility, are frequently best returned to the manufacturer when dull.
Comparative Equipment Metrics
| Maintenance Tool | Cost Range | Skill Level Required | Metal Removal Rate | Maintenance Frequency | Best Suited For |
|---|---|---|---|---|---|
| Honing Steel | $15 – $40 | Low to Moderate | Zero (Realignment only) | Weekly / Daily | All straight-edge steel knives |
| Handheld Sharpener | $10 – $25 | Beginner / Low | Moderate | Bi-monthly | Western chef’s and utility knives |
| Whetstone (Dual-Grit) | $15 – $50 | Moderate to Advanced | Controlled / Precise | Semi-annually | Western & Japanese chef’s knives |
Official Guidelines & Step-by-Step Methodology
Executing professional-grade knife maintenance at home does not require an apprenticeship under a master bladesmith. By following standardized protocols for handheld sharpeners, whetstones, and honing rods, any home cook can achieve a factory-fresh edge.

Method A: The Handheld Sharpener (The Beginner’s Choice)
For cooks intimidated by the mechanics of manual stone sharpening, a quality preset handheld sharpener—often available for around $10—removes all guesswork by locking in the precise sharpening angle.
- Setup: Place the sharpener firmly on a clean, flat, non-slip kitchen counter or cutting board. Hold the ergonomic handle with your non-dominant hand.
- Coarse Sharpening: Insert the heel of the knife (the section closest to the handle) into the coarse slot. Maintain gentle, downward pressure and pull the blade smoothly and steadily all the way through to the tip in a single fluid motion.
- The Golden Rule: Never saw back and forth. Sawing creates microscopic burrs and ruins the integrity of the edge. Always pull in one direction (heel to tip), lift the knife completely away from the unit, return the heel to the slot, and repeat. Execute 5 to 10 passes depending on dullness.
- Fine Finishing: Transfer the blade to the fine slot and repeat the exact same single-direction pulling motion for another 5 passes to polish the edge and remove burrs.
Method B: The Whetstone (The Enthusiast’s Choice)
A whetstone is an abrasive block that yields superior results and offers a deeply meditative, satisfying ritual for the home cook.
- Soaking the Stone: Submerge a dual-grit whetstone (typically featuring a coarse side with a lower grit number and a fine side with a higher number) in clean water for 10 to 15 minutes until air bubbles cease rising. (Note: Always consult manufacturer instructions, as some splash-and-go stones require only surface hydration).
- Securing the Base: Place the stone on a damp kitchen towel or inside a dedicated rubber non-slip dock to prevent movement during use.
- Coarse Grind Execution: Position the stone with the coarse side facing upward. Sprinkle a small amount of water across the surface to create a lubricating slurry. Hold the knife handle firmly in your dominant hand, laying the flat side of the blade against the stone with the cutting edge pointing away from you.
- Angle Management: Tilt the spine of the knife upward to achieve roughly a 15- to 20-degree angle (roughly the height of a matchbox or two stacked coins beneath the spine).
- The Stroke: Rest the fingers of your non-dominant hand gently across the flat face of the blade to distribute pressure evenly. Maintaining a steady angle, glide the blade back and forth across the stone, working methodically from the heel to the tip. Take your time; precision supersedes speed.
- Flipping: Flip the knife over and mirror the process for the opposite side, ensuring an equal number of strokes (typically 5 to 10 per side).
- Fine Polish: Flip the whetstone over to the higher-grit (fine) side, re-lubricate with water, and repeat the exact same motion to refine and polish the newly formed apex.
Method C: The Honing Steel (The Daily Maintenance Routine)
To maintain alignment between major sharpening sessions, integrate a honing rod into your mise en place.
- Safe Setup: Fold a damp kitchen towel on your countertop. Place the tip of the honing steel straight down onto the center of the towel, gripping the handle firmly with your non-dominant hand at a comfortable upright angle.
- The Angle: Place the heel of your knife against the upper portion of the steel, establishing a 15-degree angle between the blade and the rod.
- The Swipe: Slide the blade smoothly down and across the steel while simultaneously pulling the knife from heel to tip. The motion should resemble slicing a thin layer off the side of the rod.
- Alternating Sides: Switch the blade to the opposite side of the rod and repeat. Alternate sides for a total of 5 passes per side.
Final Step: Post-Maintenance Sanitation
Sharpening and honing liberate microscopic metallic filings and steel dust that remain clinging to the edge and the surrounding surfaces. Even if invisible to the naked eye, these micro-particles must be thoroughly neutralized. Always wash the entire blade thoroughly with warm, soapy water and dry it completely with a clean towel before resuming food preparation. Wipe down the surrounding work surface to ensure no stray metal residue contaminates your ingredients.
Future Outlook: The Evolution of Kitchen Preparedness
As home cooking continues to evolve through the cultural rediscovery of fundamental culinary skills—often catalyzed by digital communities and food journalism—the cultural perception of knife maintenance is undergoing a profound shift. Once viewed as an intimidating chore reserved for professional line cooks and knife-smiths, home sharpening is rapidly becoming a standard domestic competency.
Looking ahead, the intersection of accessible, high-performance maintenance tools and culinary education points toward a future where premature knife disposal becomes obsolete. High-quality cutlery, when properly maintained through regular honing and seasonal whetstone sharpening, represents a lifetime investment. As home cooks embrace these foundational techniques ahead of the holiday cooking season and beyond, the kitchen becomes a safer, more efficient, and deeply satisfying environment where precision craftsmanship meets everyday home cooking.